Pixobubble Idents
To launch the Pixobubble brand and showcase its diverse skill set, a series of meticulously crafted technical ident animations were created. By utilizing various simulation and dynamics techniques allowed for merging appealing, natural simulated motion with art-directed movements and animation, resulting in impactful and appealing rendered animations.
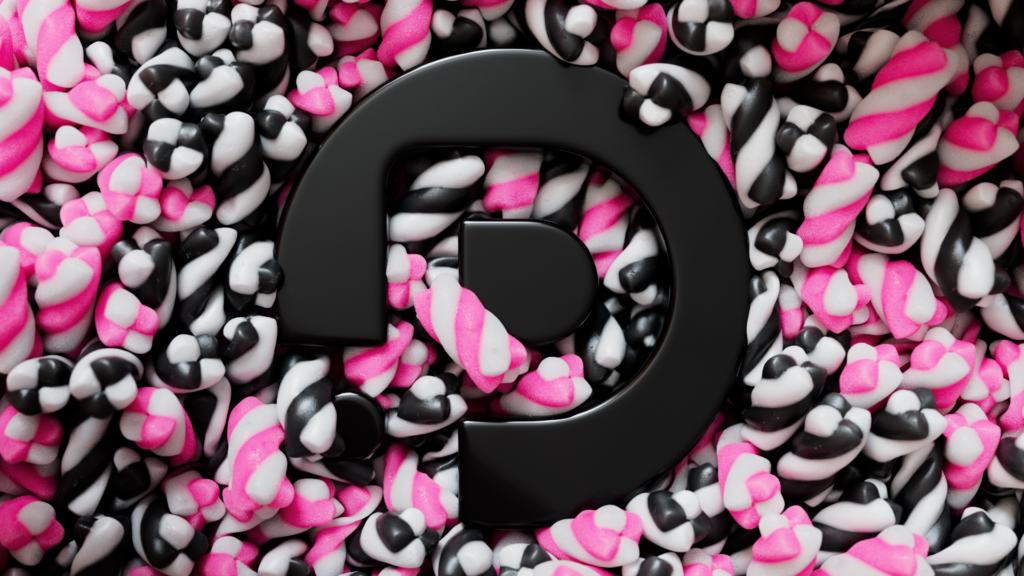
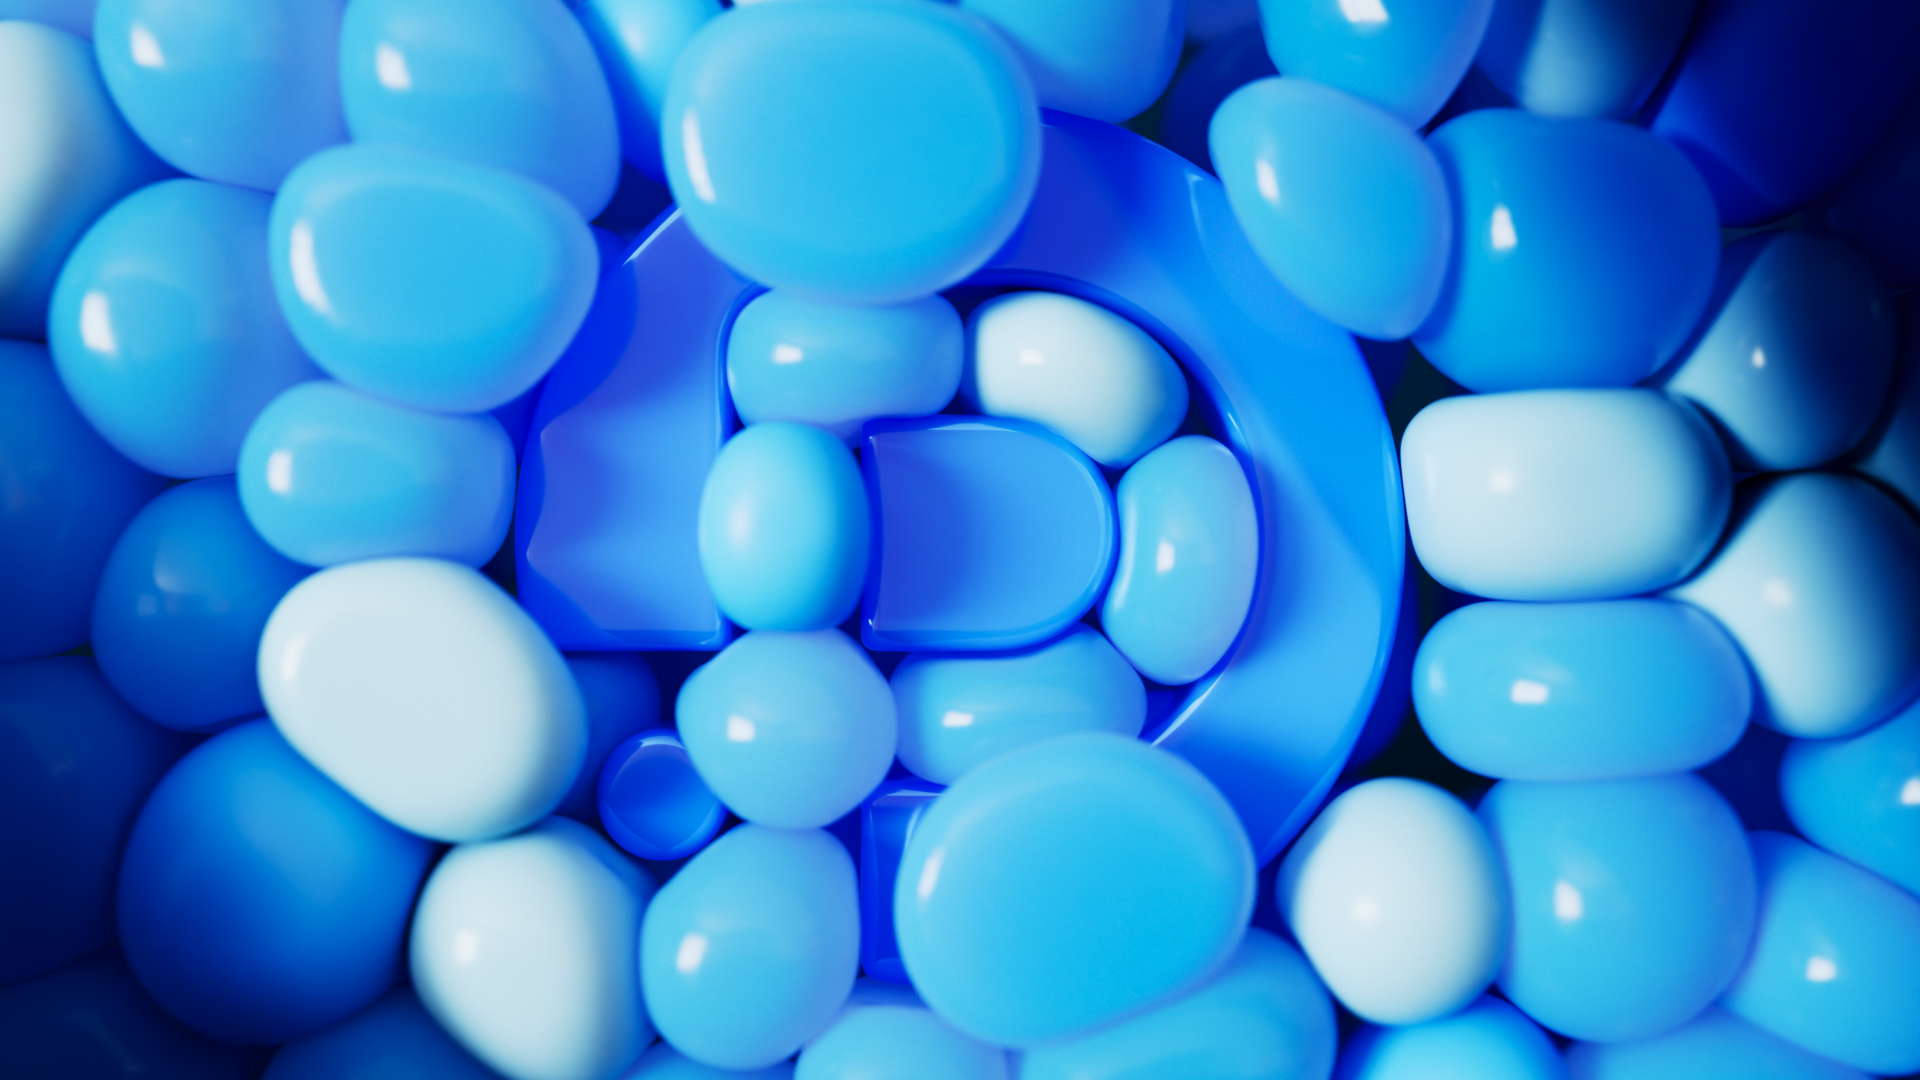
The focus was on creating bold, high contrast images with dramatic lighting that truly captivate the eye and make the on-screen elements stand out. Throughout the ident animations, we incorporated a balanced combination of blue and pink themes, creating a complementary visual harmony.
On the technical side, we heavily relied on SideFX Houdini for its exceptional adaptability, employing it extensively for all simulations. The lighting and look-development stages were meticulously carried out in Maxon Cinema 4D, utilizing a combination of both Redshift and Octane Render based on the specific simulation and desired visual aesthetics.
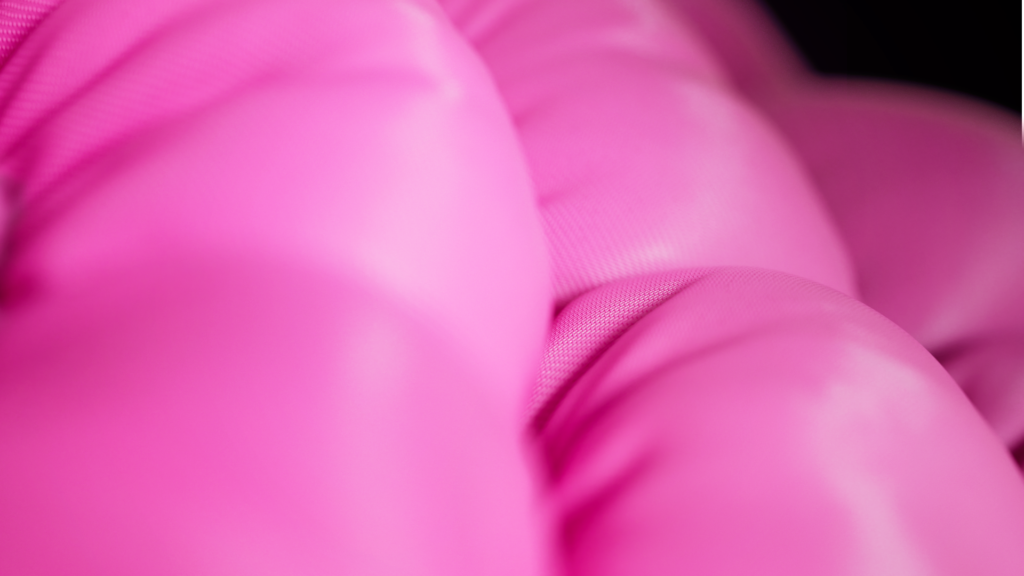
Research & Development
Throughout the process we were able to experiment with different styles and techniques, applying different types of motion, forces and visual styles to various solvers. Here are some of those visuals behind the scenes, as well as some information about how the resulting affect was achieved.
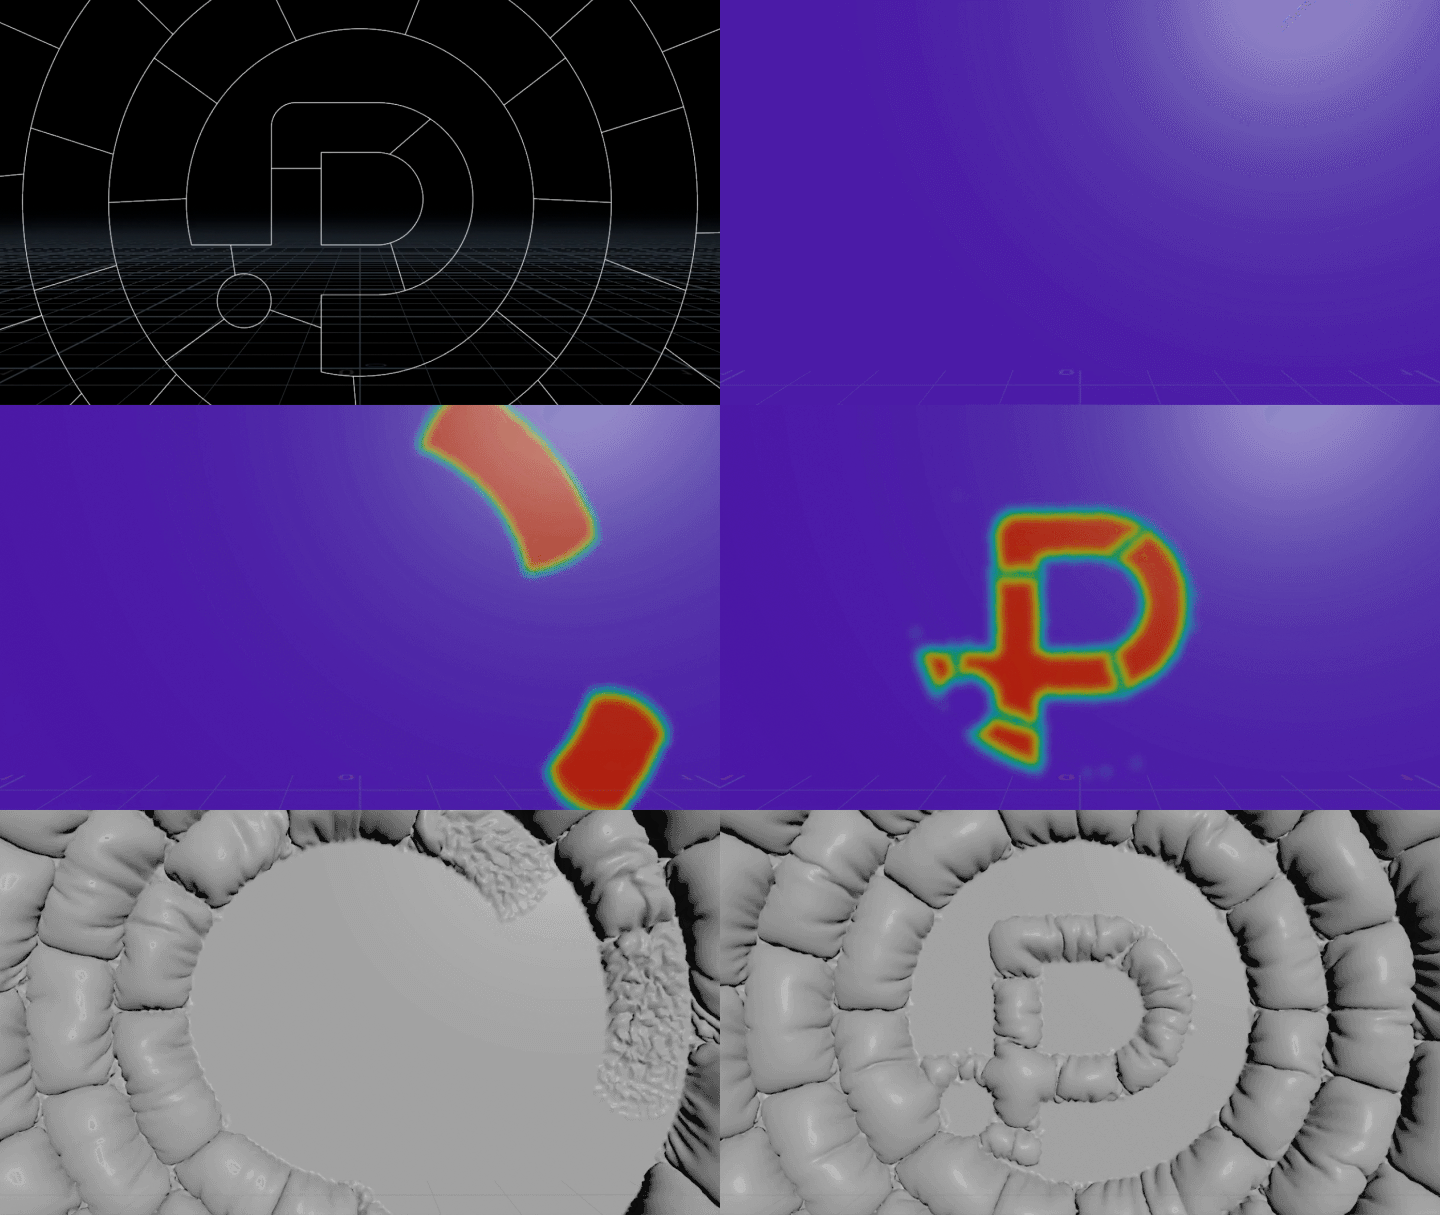
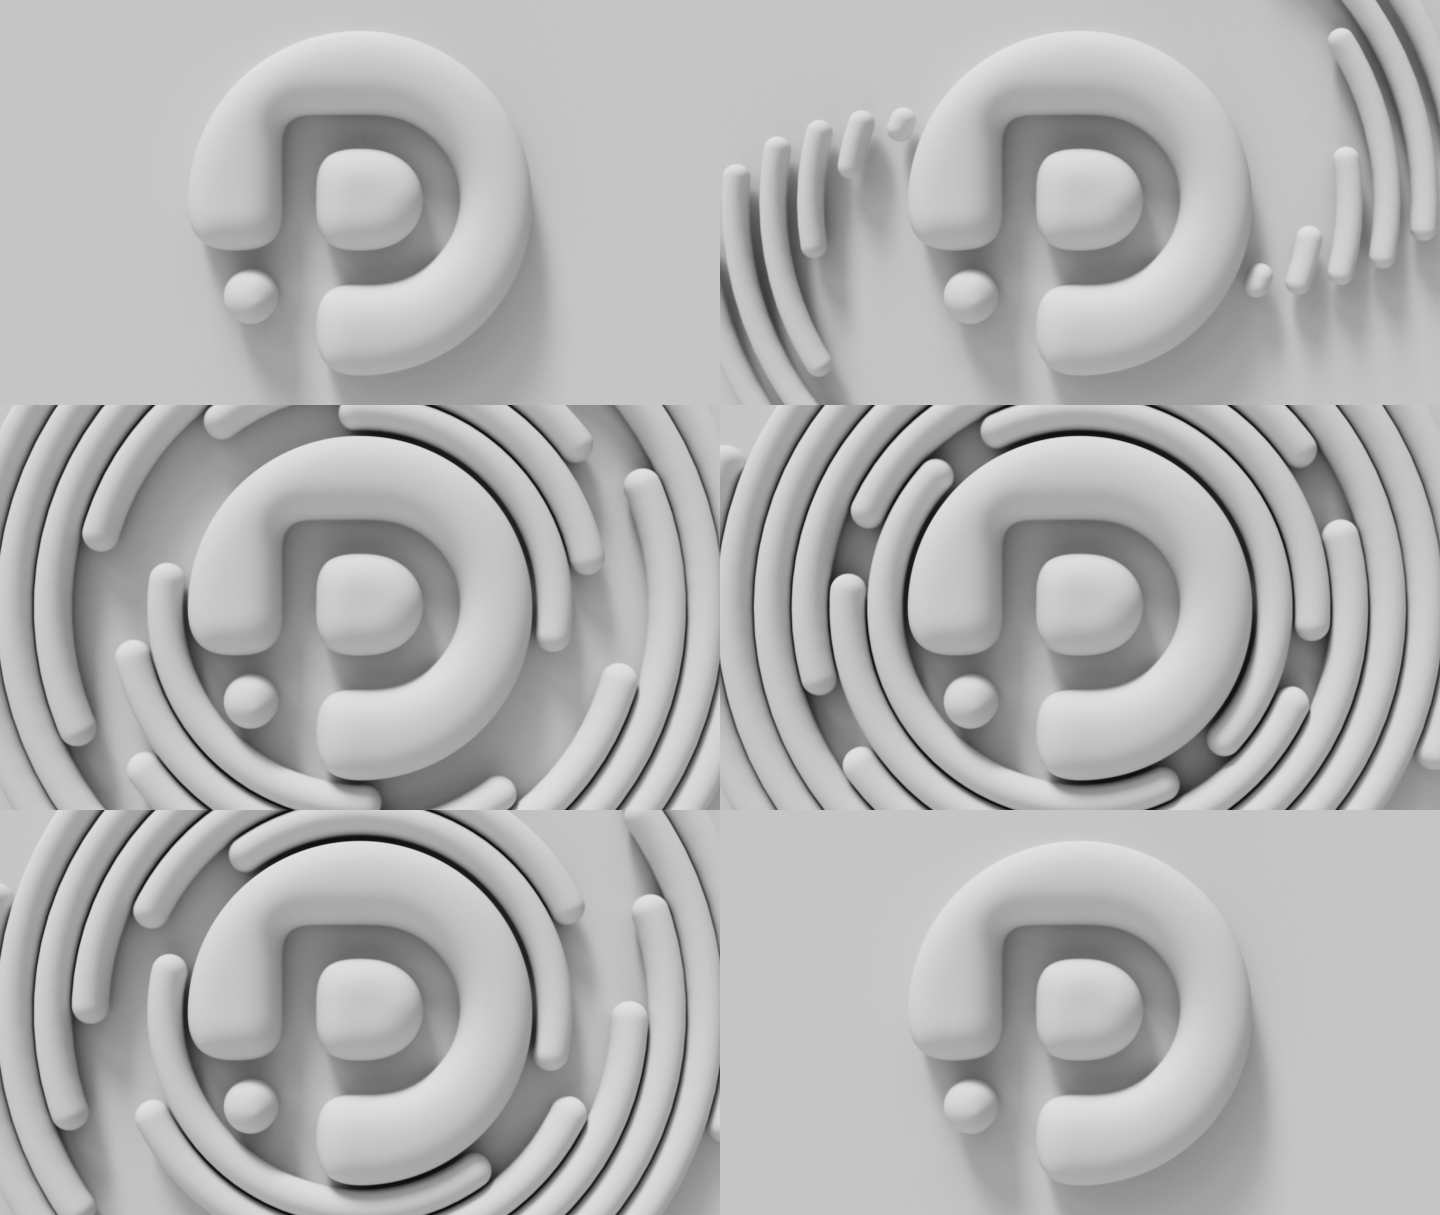
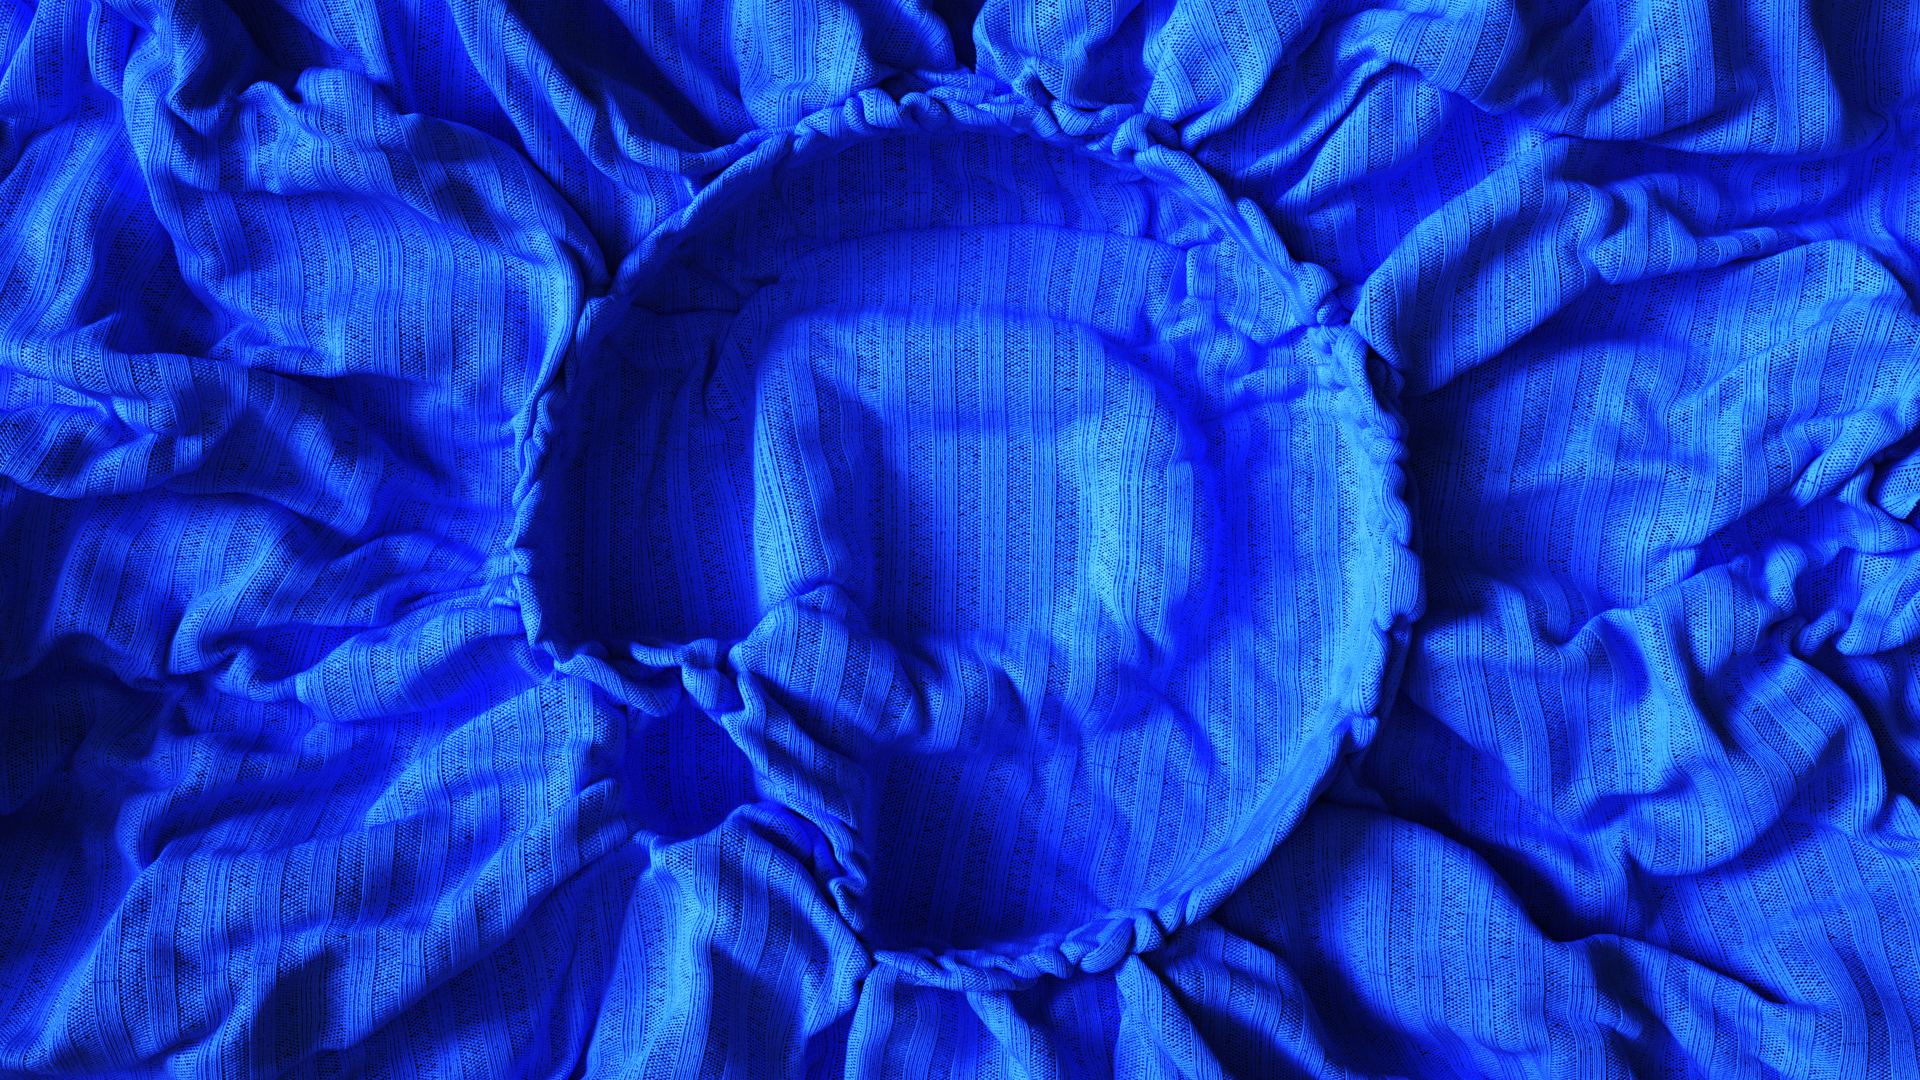
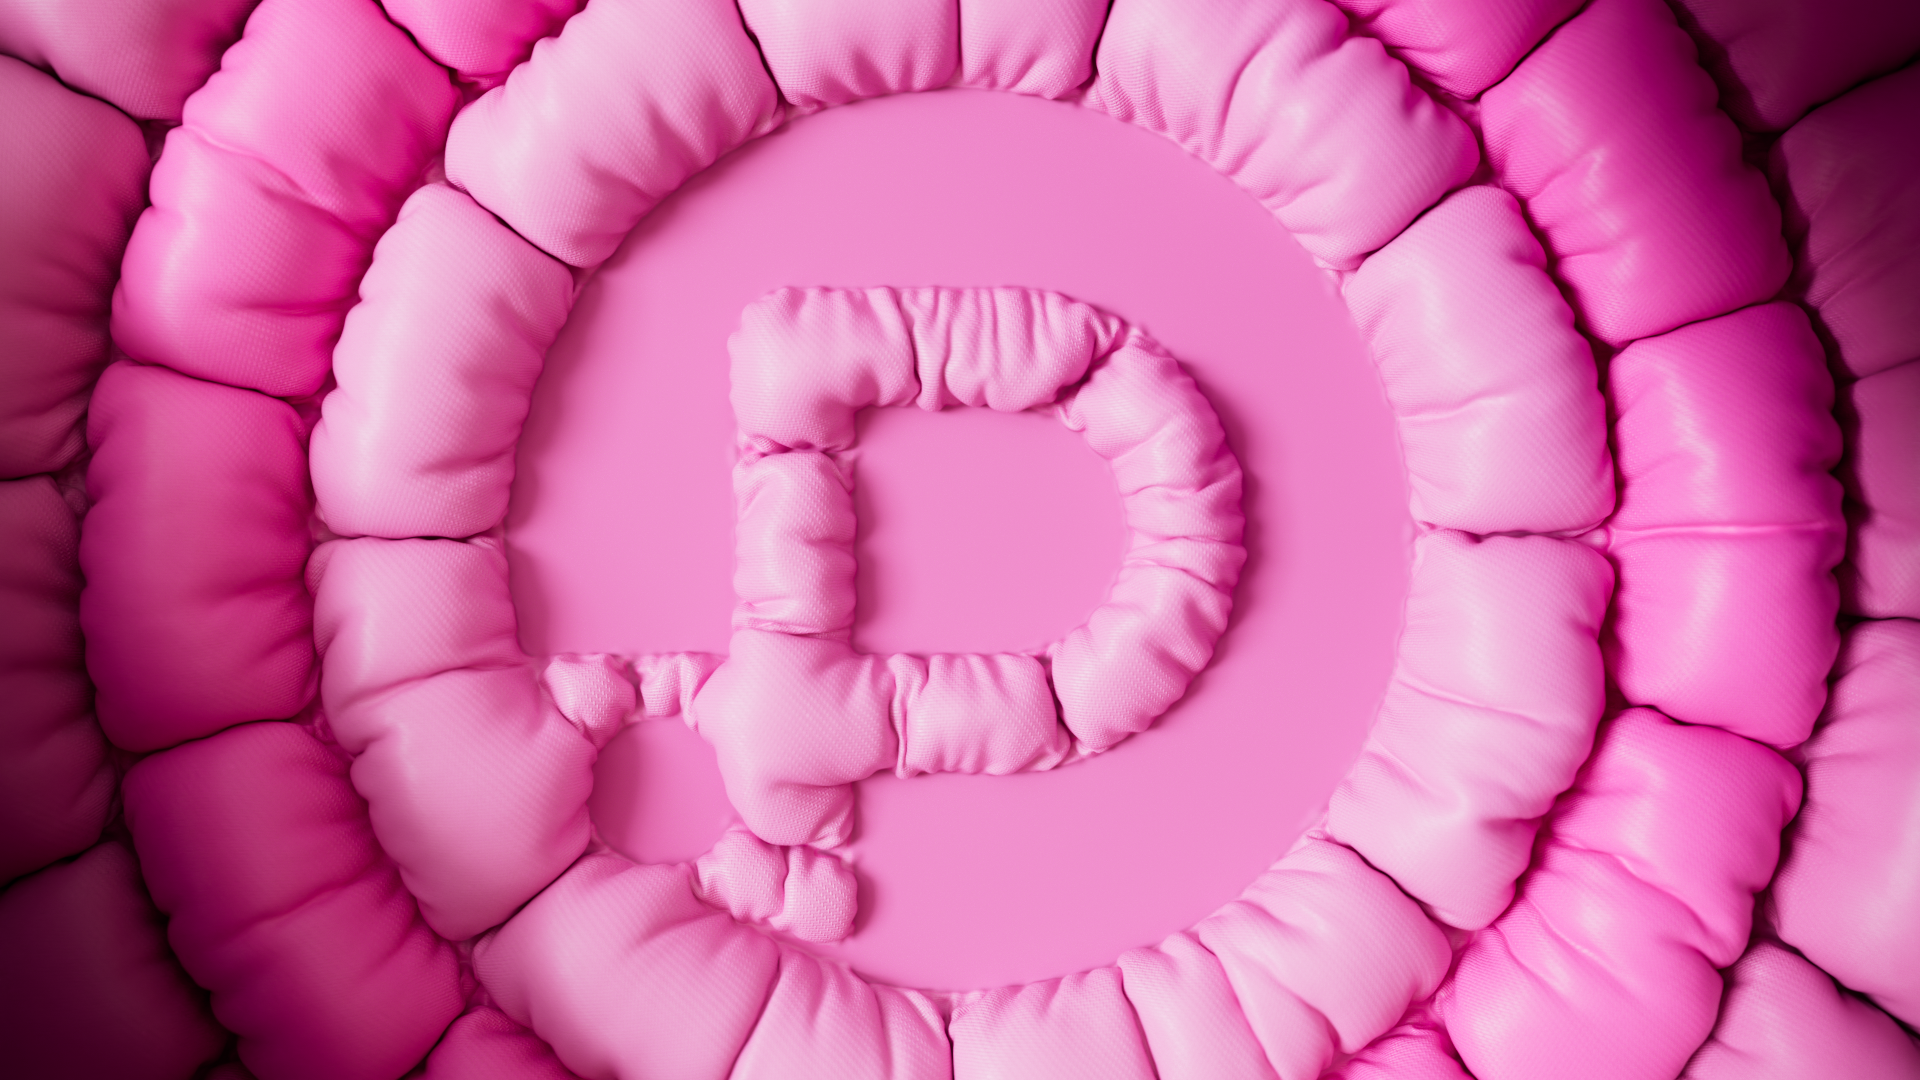
This inflation technique didn’t use any advanced setups on the solver sider, but we used a variety of different techniques in order to art-direct the motion in a way that we liked.
First of all, a desired pattern was drawn by hand to act as the overall pattern of the affect – while this could have been done procedrually inside Houdini in may different ways, we wanted to be able to art direct the pattern as much as possible.
After this, we used this pattern to create pins dynamically on our cloth surface. Even though it was hand drawn, if we decided to redraw or adjust the pattern, everything would propogate accordingly inside Houdini so it was still a procedural effect to that extent.
We animated multiple fallofs in a circular motion across the cloth surface, as a second falloff to reveal the logo. Combining these fallofs inside the vellum solver to ‘release’ those areas of the cloth gave us the nice pillowing effect while the remaining areas remained pinned.
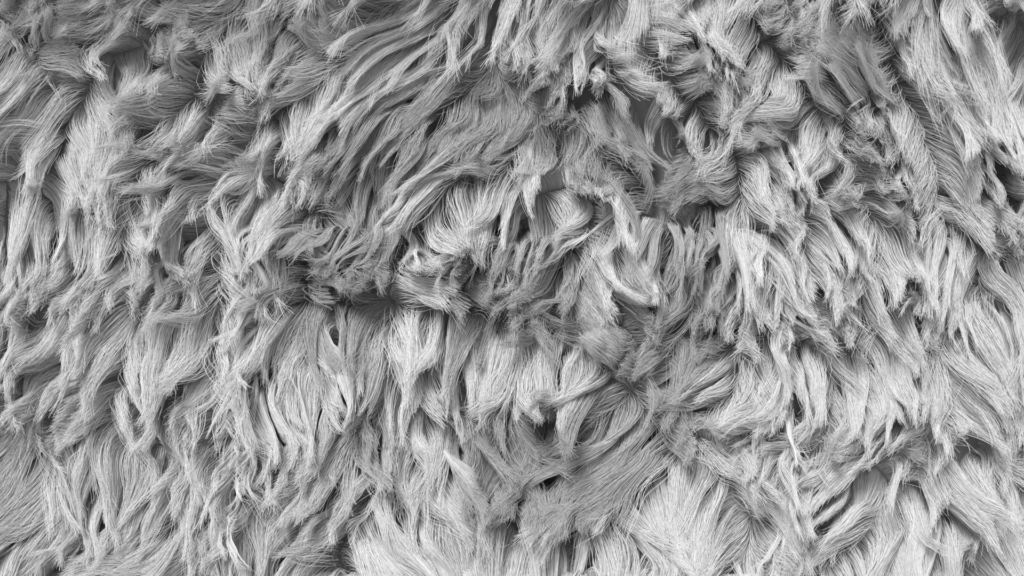
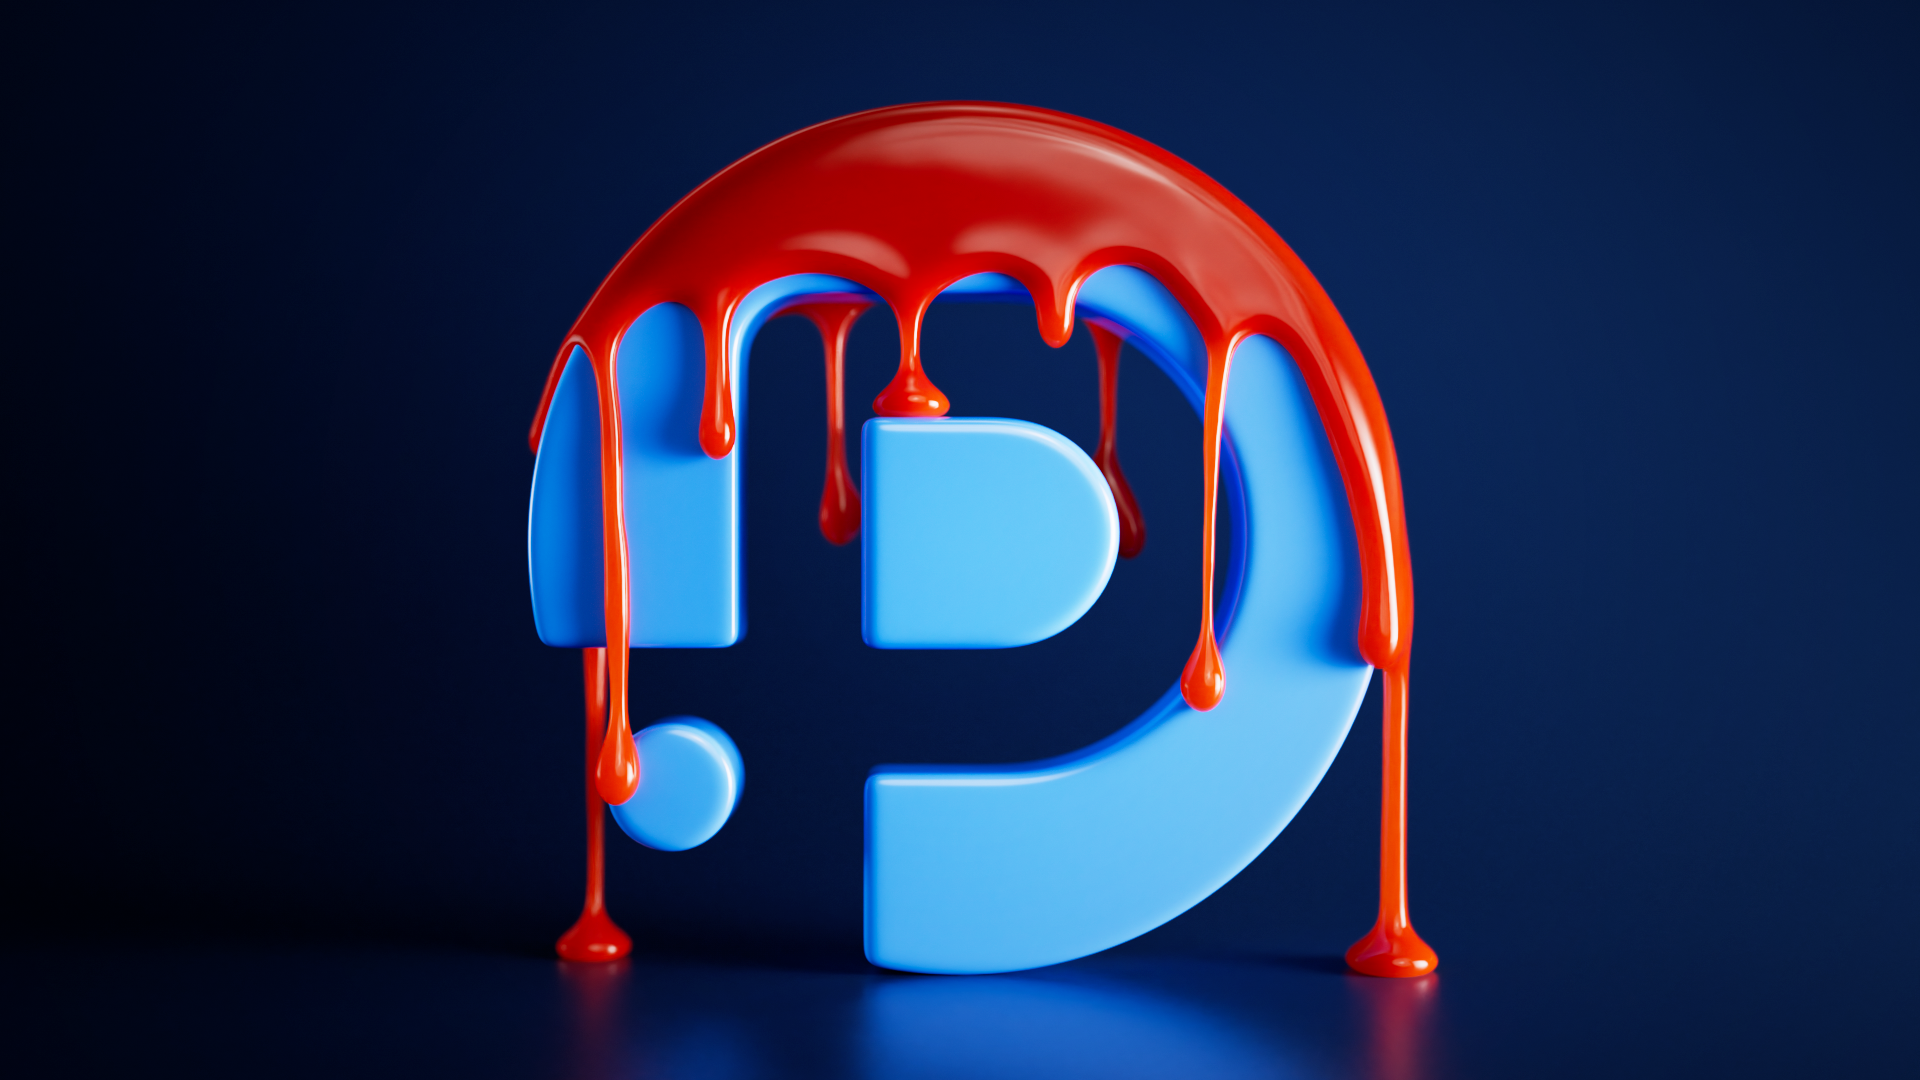
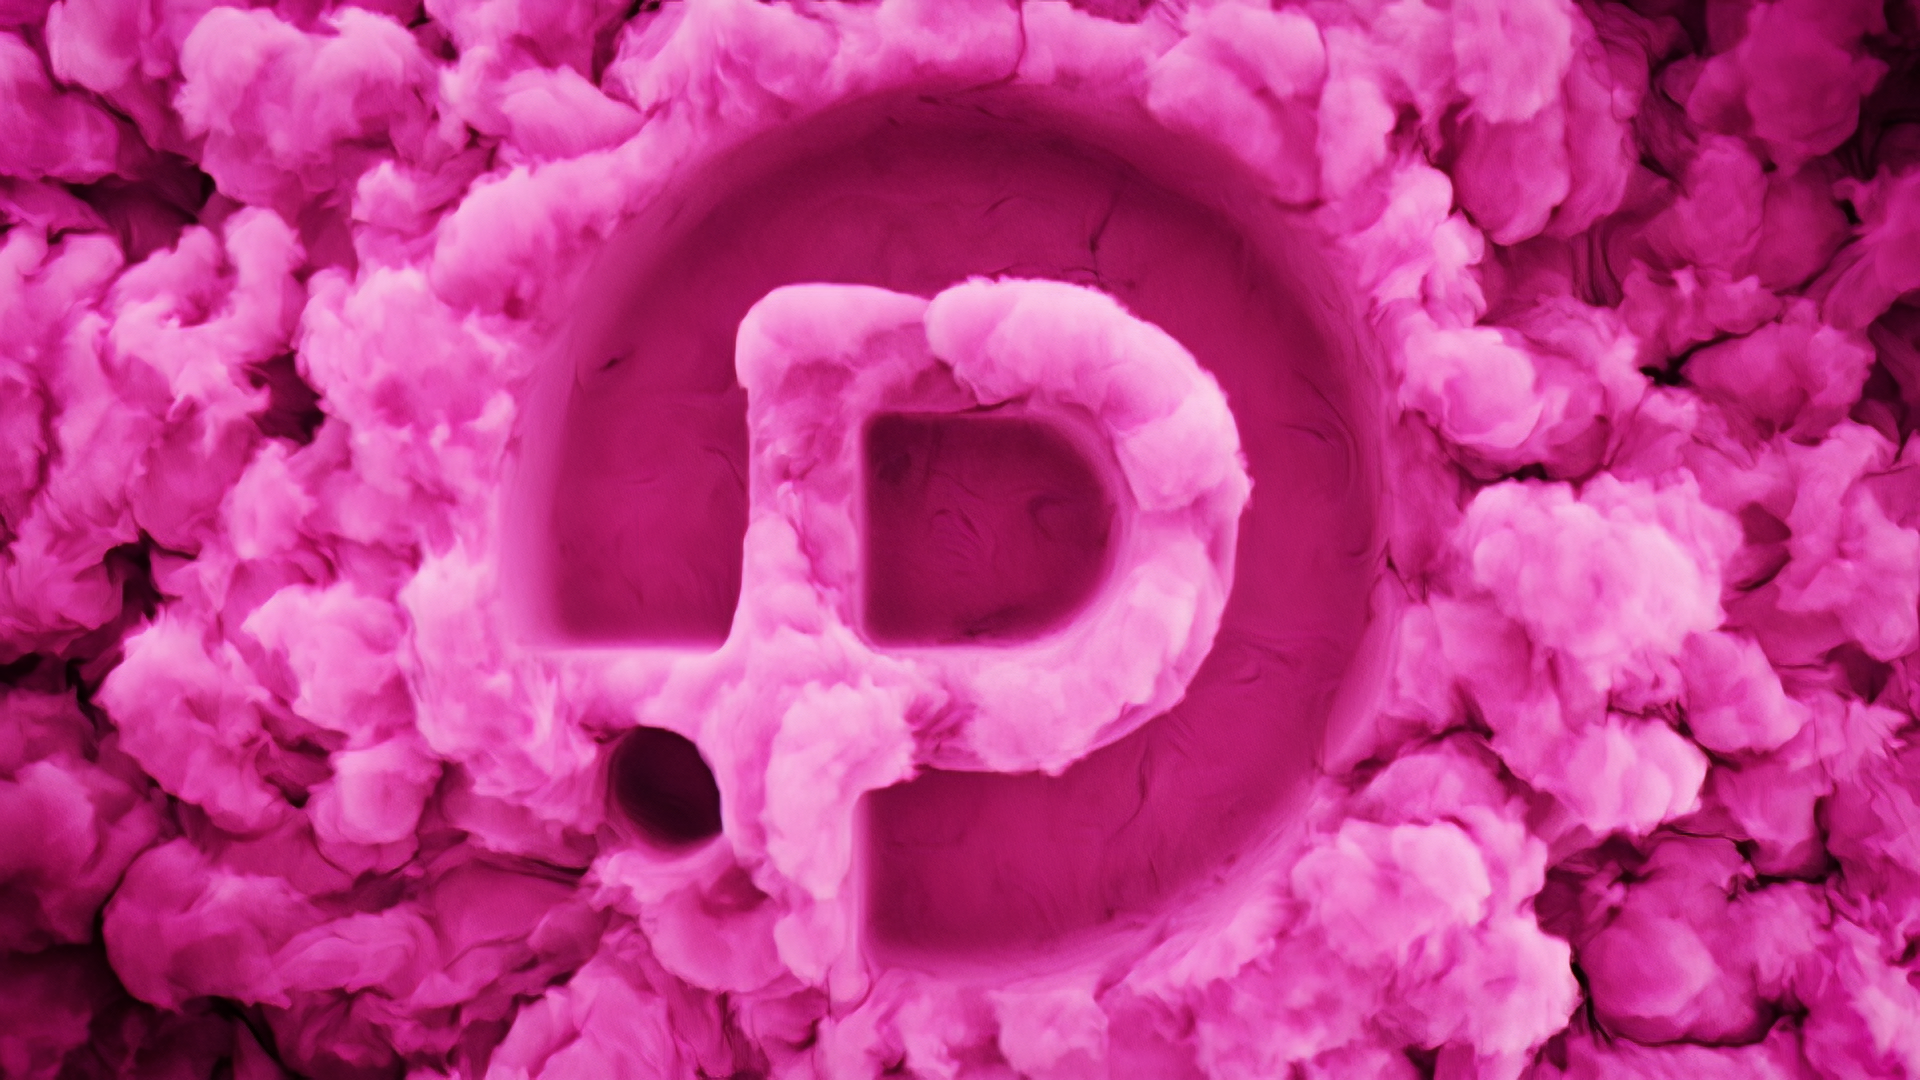
The liquid ident, while on the surface the most difficult of the solvers to master, was a fairly straightforward setup. We used an attribute paint to draw an initial state onto our logo – this initial state was very important as it allowed us to art-direct the look and help dictate the over all the flow of the liquid meaning we didn’t have to rely on custom forces and techinques for the final look. From there it was a case of tweaking surface tension and viscosity values to get the desired look, and then creating a production ready resulting mesh – this is a difficult process to master so takes lots and R&D but the result is a nice jitter free and smooth mesh which is important for slow moving liquids.

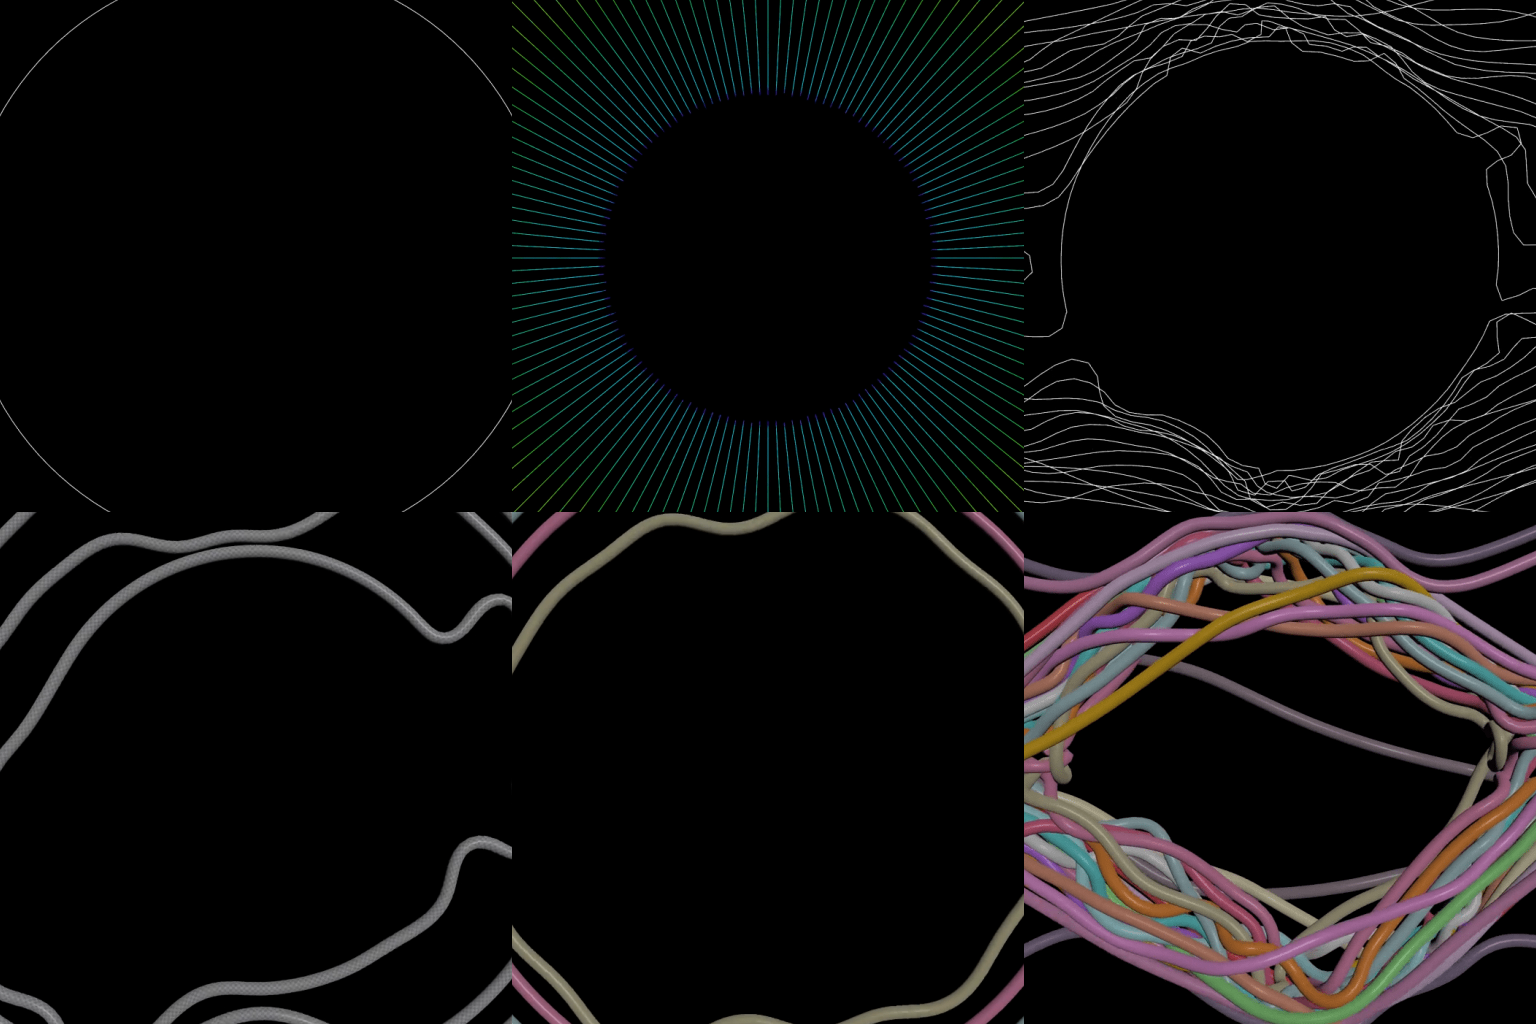
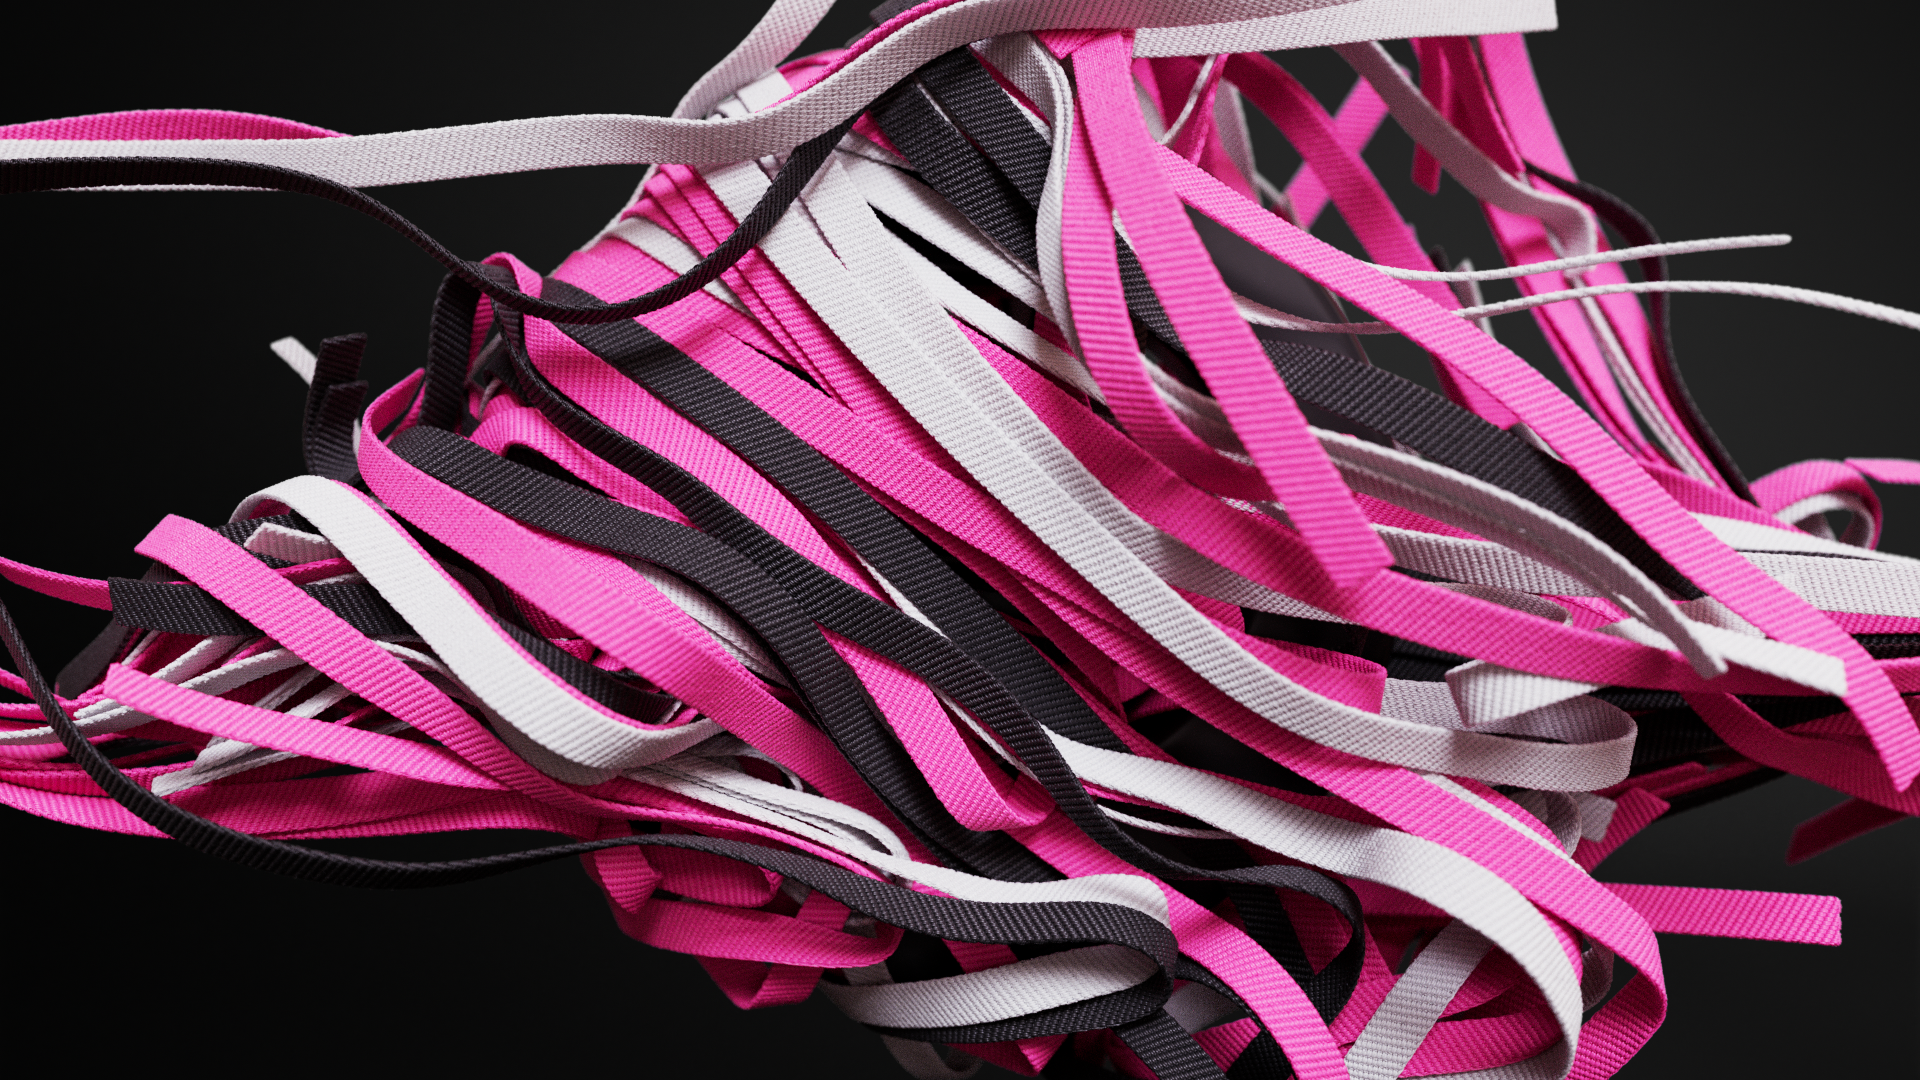
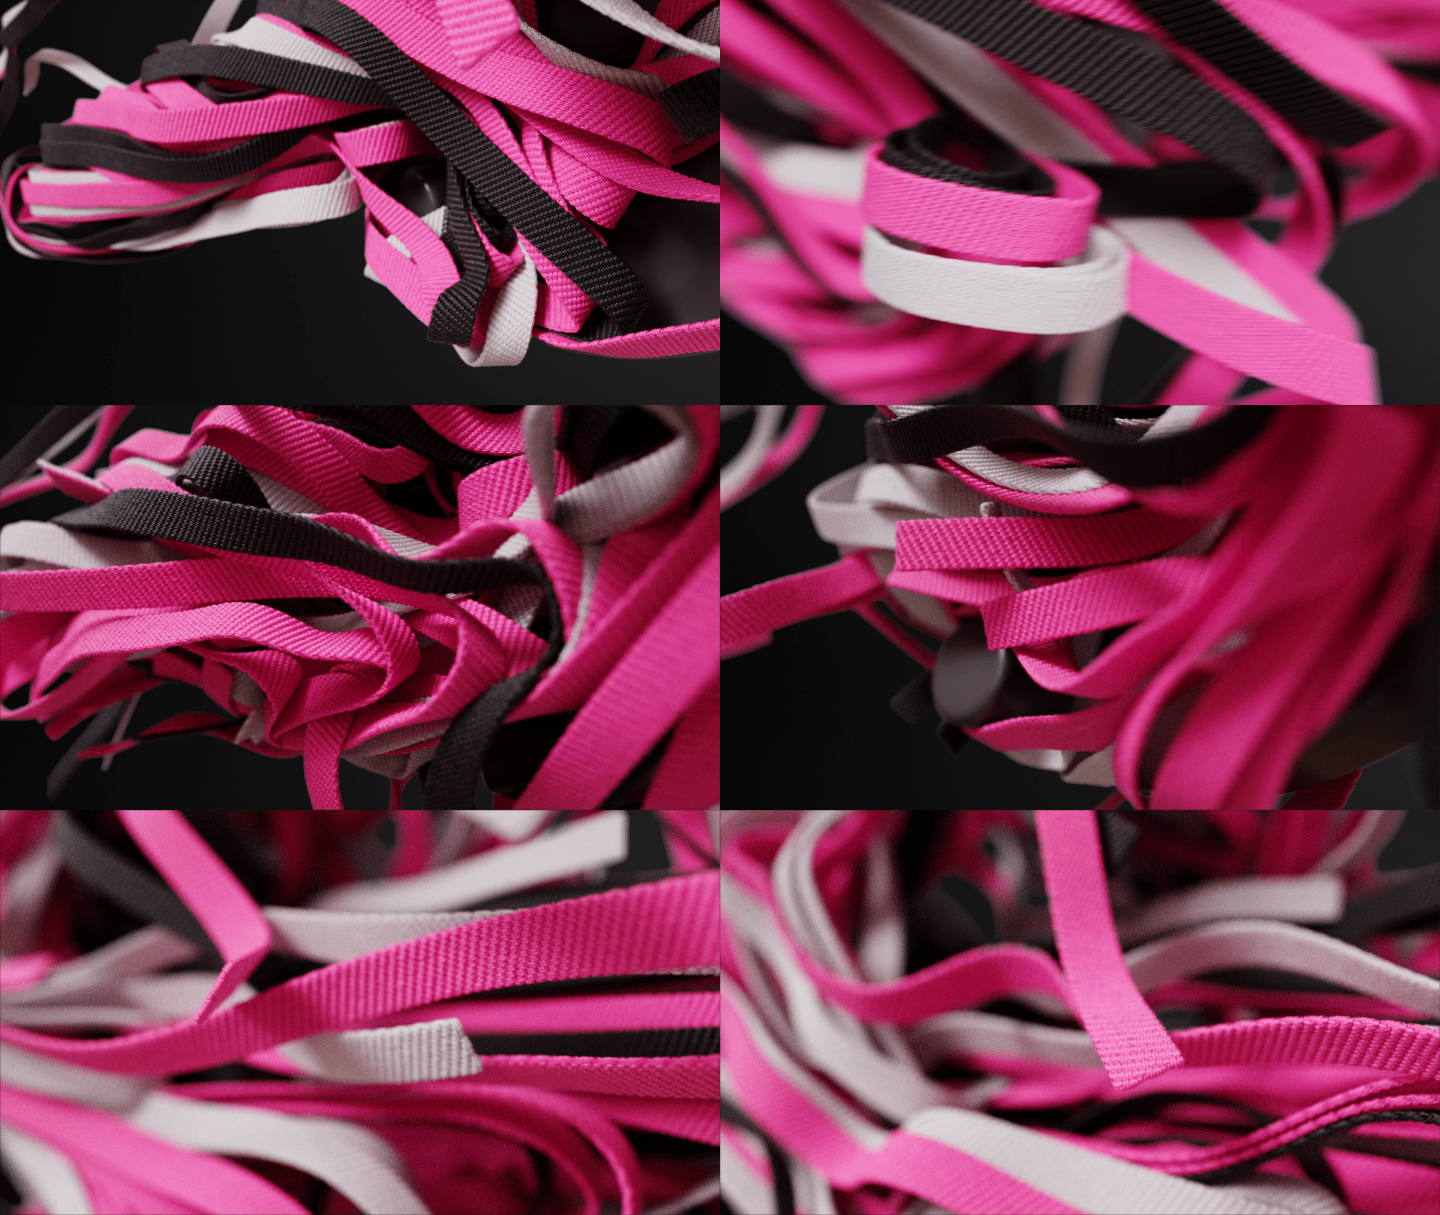
The strings simulation was done using Vellum Hair, allowing for a much faster simulation than using soft bodies and makes look development for the effect much faster. We created a custom velocity field to help drag our wires down onto our logo, as well as combining it with axis forces inside the solver to get the twistiing affect. From there, it was a case generating geometry with clean UVs using a sweep. randomising the colour across each inidividual wire for more interesting shading and some final retiming to help smooth out jitter and finesse the motion.
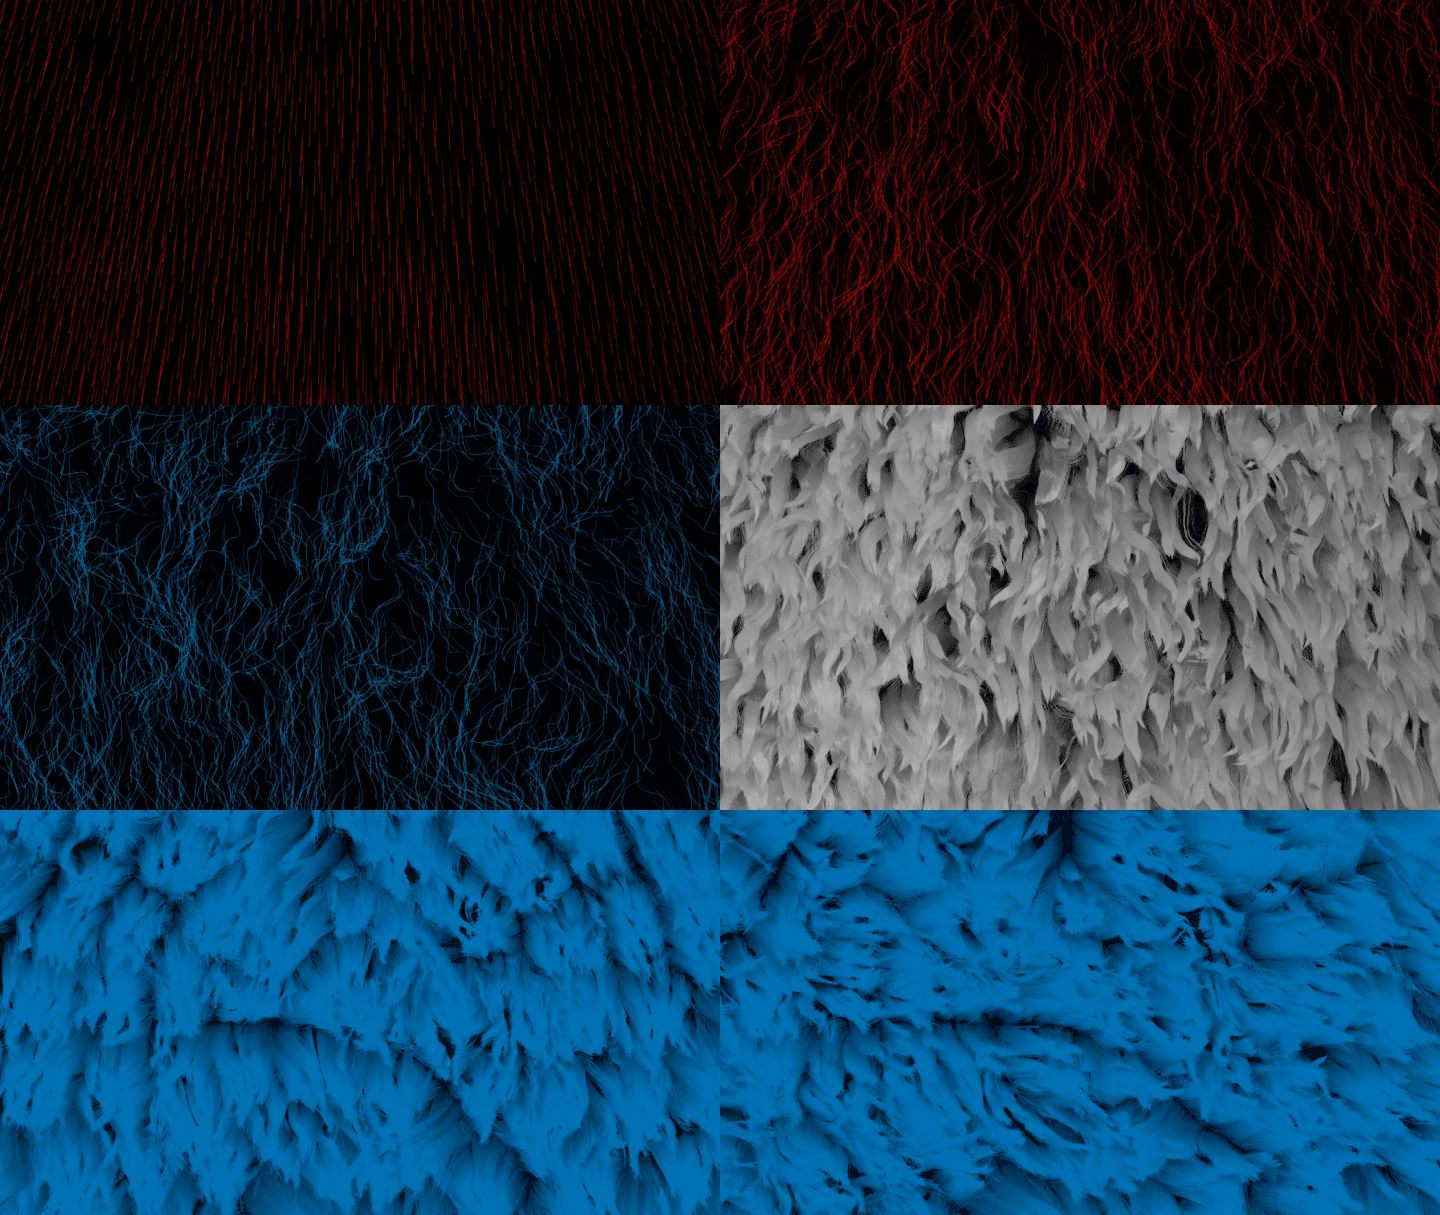
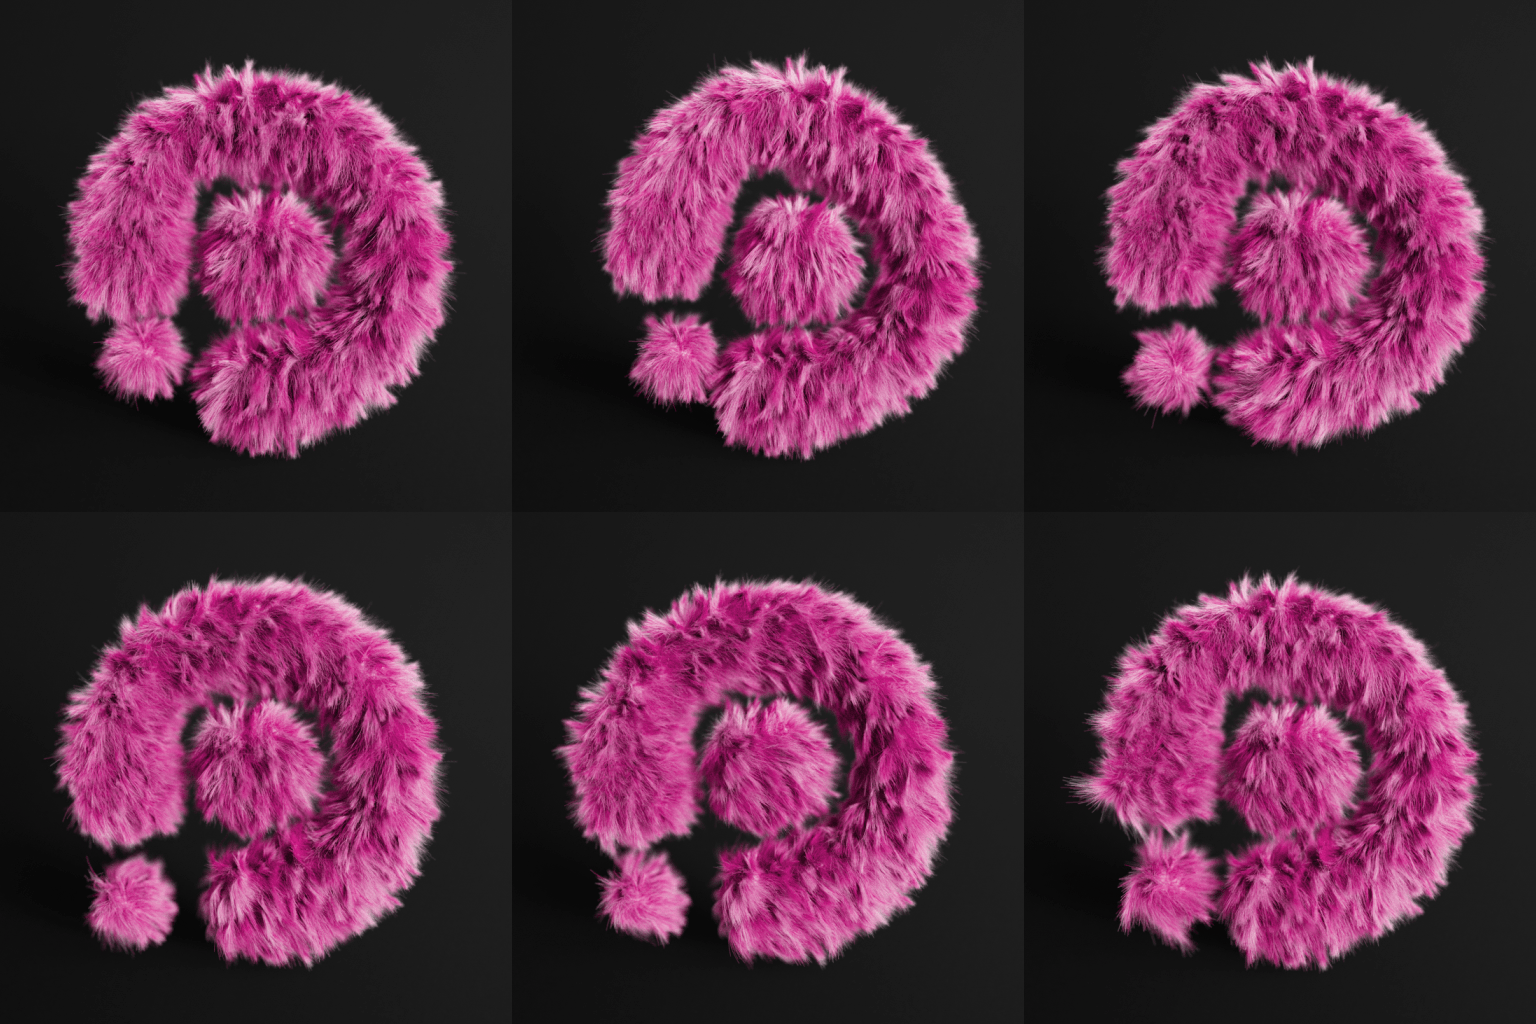
With the hair ident we want to try and capture a passable realistic look, so we knew we were going to need lots of hairs and interestic, organic looking clumping while still being able to simulate on top of those hairs.
We first began setting up the initial groom, this was mostly kept simple using some frizz and randomness along with our logo acting as a collider to help that part of the hair remain recognisable throughout.We then created our simulation on the guides using a couple of noise fields and a wind effect to get the look we were going for.
From there we began creating our hair – the clumping was the most important aspect to achieving something realistic so we focused on this. We then created a spiralised vector field to advect our hair with, which helped us mantain a concentric circle look throughout the groom as well as give us a much more interesting look overall.
We finally applied our simulated guides onto our hair, and while not entirely free of intersection gives us a look at works great for this level of fidelity.
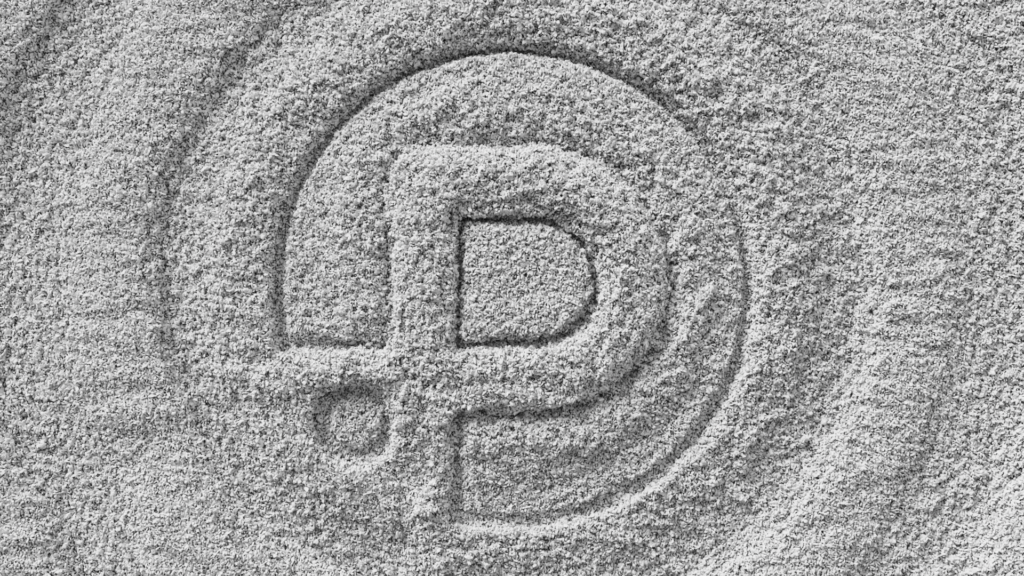
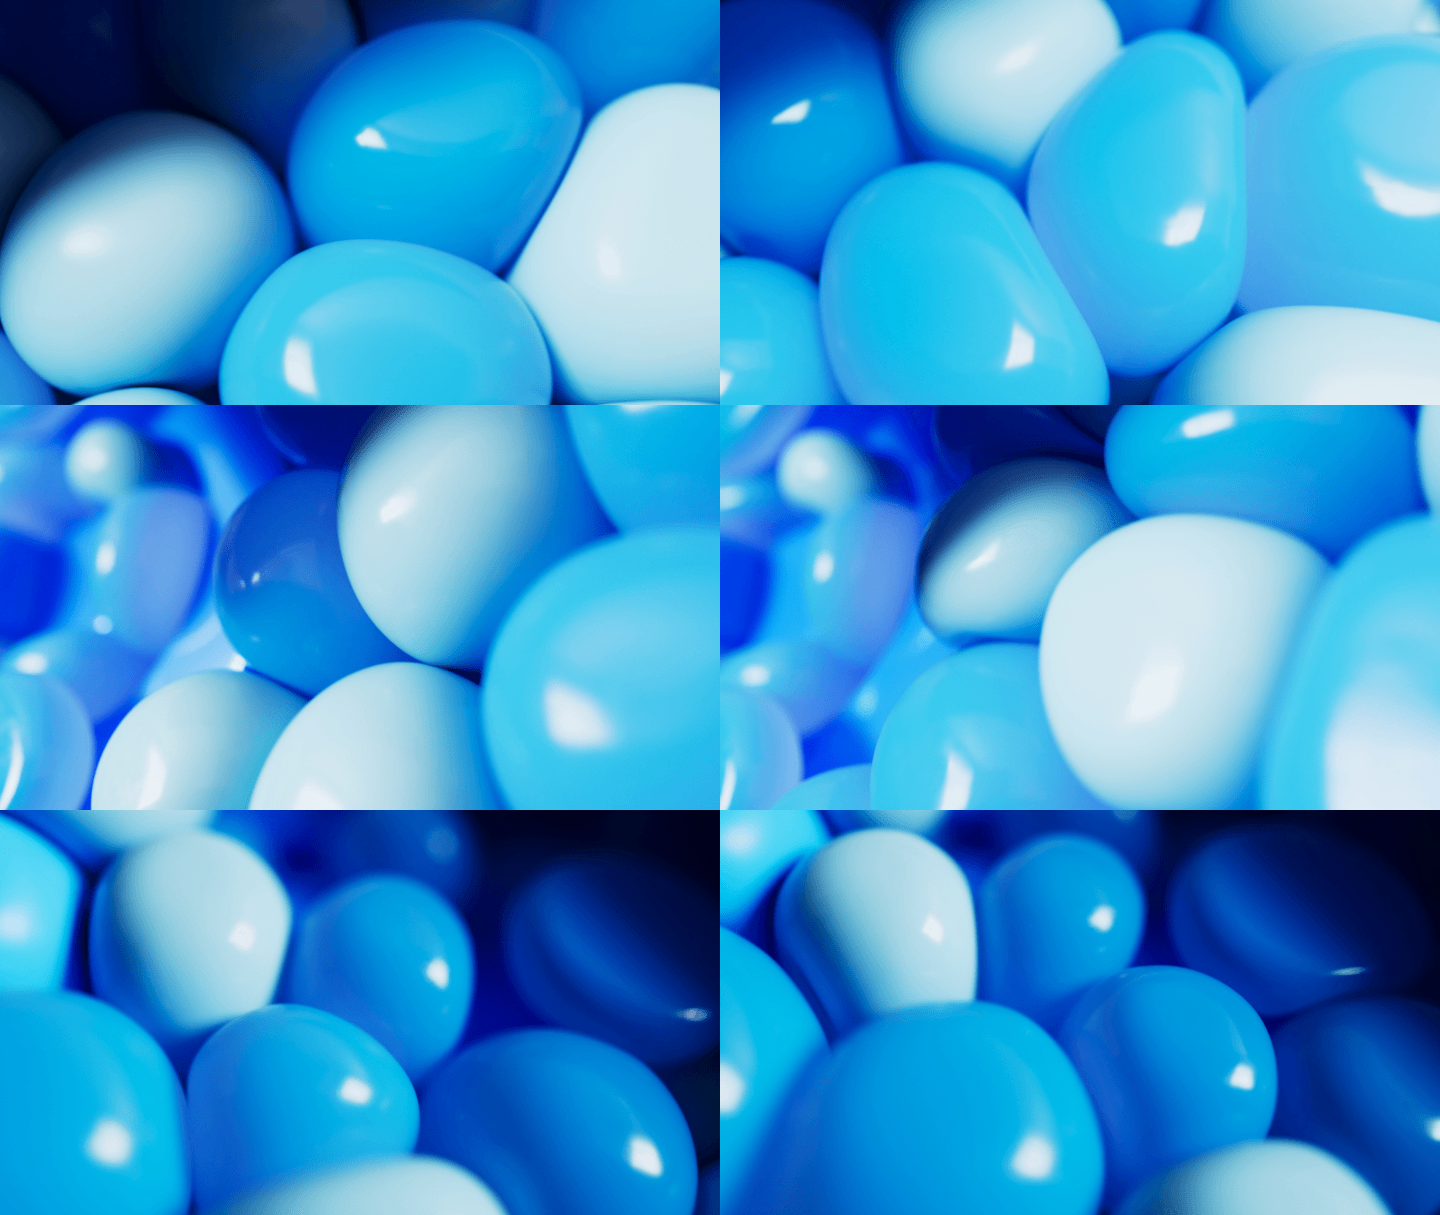
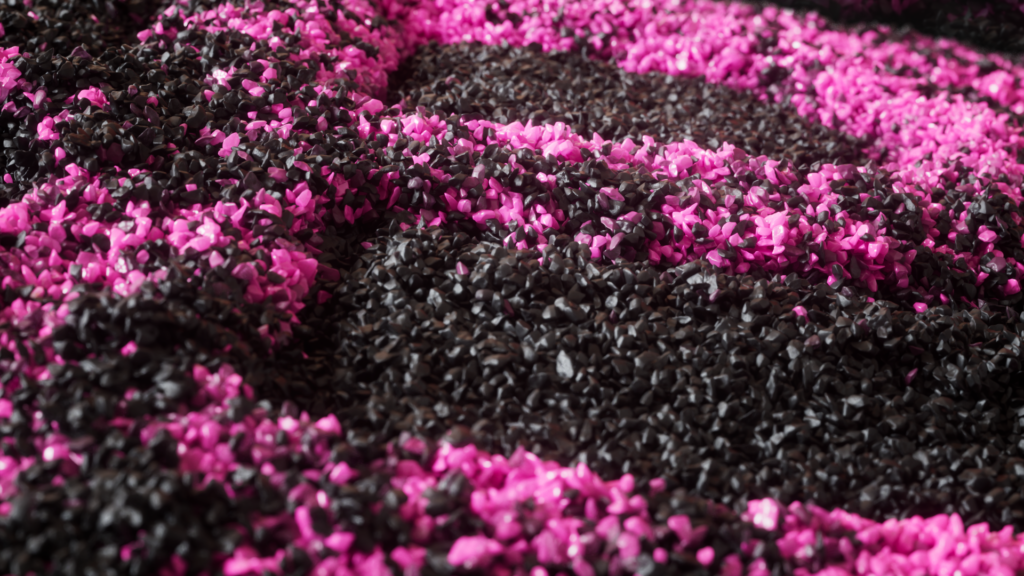
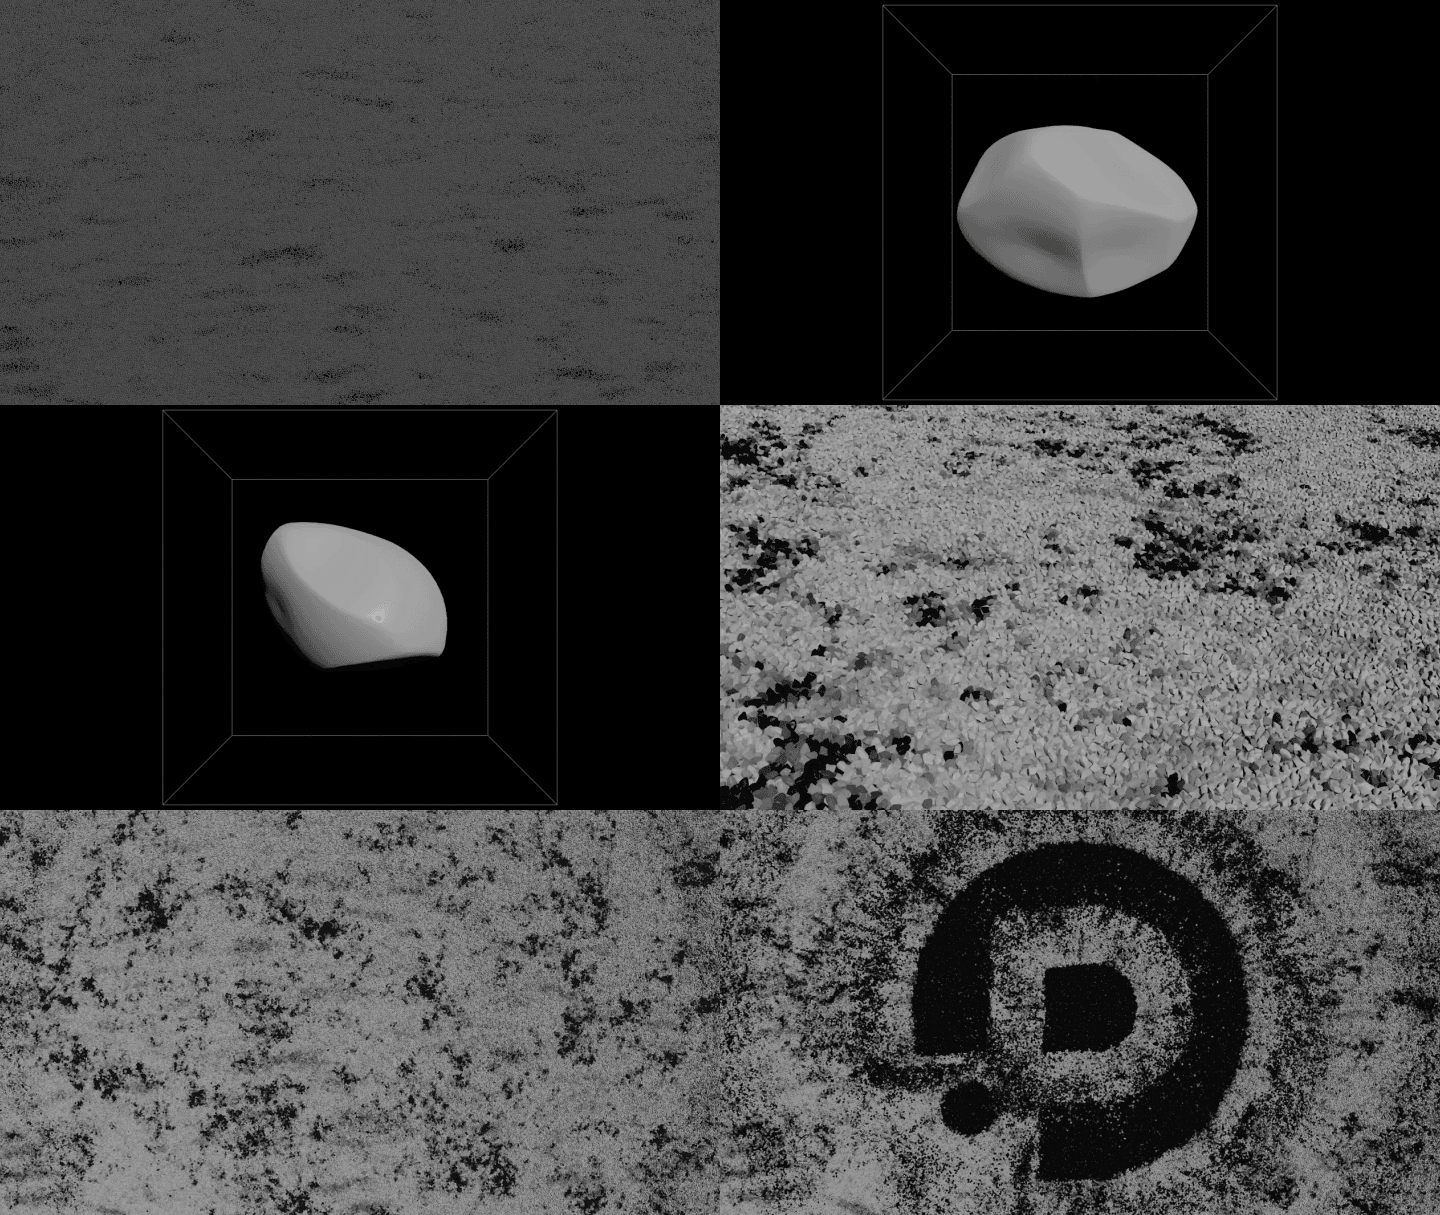
For the grain simulation the focus was on creating as high resolution simulation as possible, while still maintaining enough fidelity to see the individual grains in the final ident.
We first used some custom forces to initially ‘disturb’ our grain simulation and create anticipation in the motion, as well as custom velocity field for the small logo burst at the end. Variables on the attraction weight were used throughout to create a more interesting look.
In order to achieve more realism and to avoid rendering each grain as a simple sphere, the power of Houdini was used to quickly generate as many procedural rocks as needed. The rocks were instanced onto each point, and while it is clear the grains don’t behave like rocks, we thoughout add a much more appealing look.
The final part was to run some noises over the grains for some more variation in the colour, as well as transferring colour from our logo so that it stood out more amongst the grains and created a stronger visual contrast overall.
Over the course of the ident project’s production, it gave a chance to experiment with lots of different styles, simulation techniques and most importantly having some fun with the powerful features that various tools used had to offer. As a result, there is a quite a lot of R&D and ‘fallen’ idents that didn’t quite make the cut, but hopefully will see the light of day in the future.
